Here are some fun ideas about how to play with ice as we head into warmer weather!
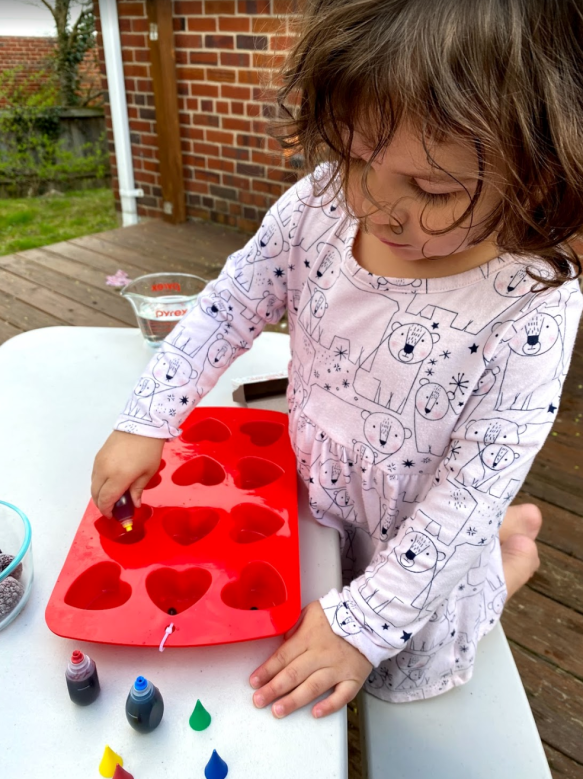
| -Use candy molds, muffin tins, baby food holders, or recycled food trays to freeze ice into different shapes
-Add food coloring (we learned it’s better to color the water instead of dropping colors directly into cups- this made the ice super dark) -Add popsicle sticks to make handles for ice cubes -Add different types of juices or make popsicles! -Freeze ice in one solid block in a casserole dish with toys suspended in it. Might work best to freeze in several layers -Add herbs or dried spices- edible flowers would be fun! -Add frozen berries, peas, corn, or other fixin’s! -Freeze different colors or juices in layers -Compare how different liquids freeze (OJ with pulp vs. apple juice, for example) |
-Pour water over ice to melt it. Experiment with hot and cold water. Have your child practice pouring with different pitchers/ cups.
-Sprinkle salt on the ice to melt it (may not be great if your kid loves to taste like mine does!) -Use forks, spoons, and table knives to dig things out that are frozen in the ice -Watch how colored ice cubes melt and mix to make new colors -Use the ice cubes to build a world for plastic animals. Try wetting ice blocks and pressing them together to see if you can get them to stick -Use tongs, eyedroppers, and/or turkey basters to pick up ice cubes, suck up melted ice and squirt it. -Use a colander or toy net to scoop up ice cubes and plastic toys in the ice -Play catch with ice and see if you can catch it even though it’s slippery! |
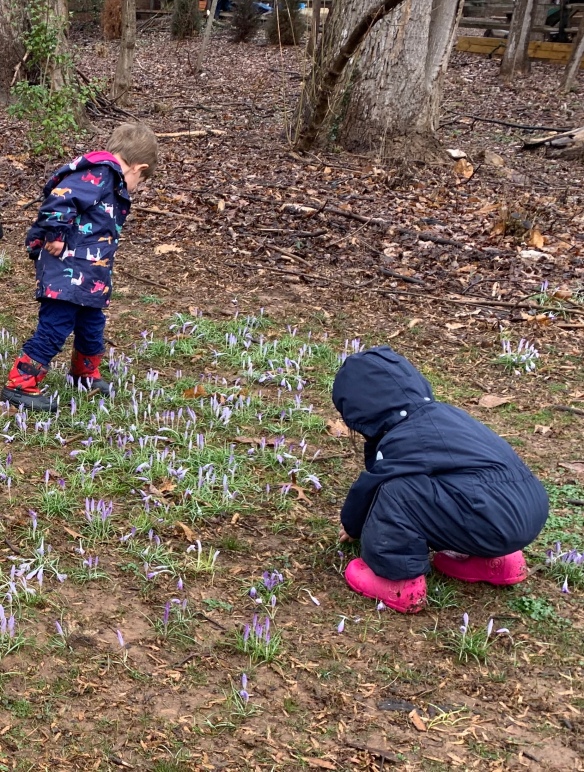
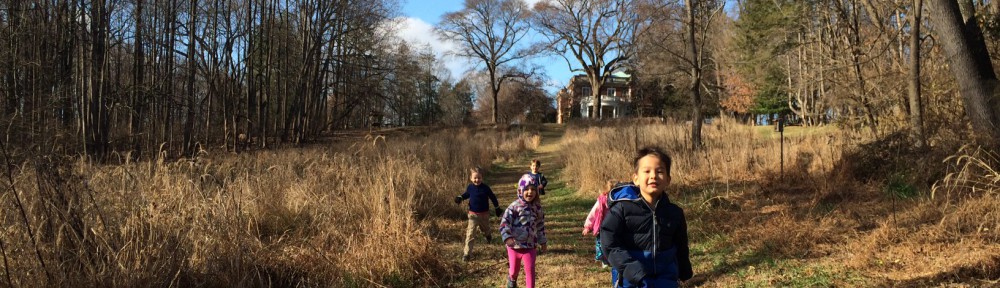
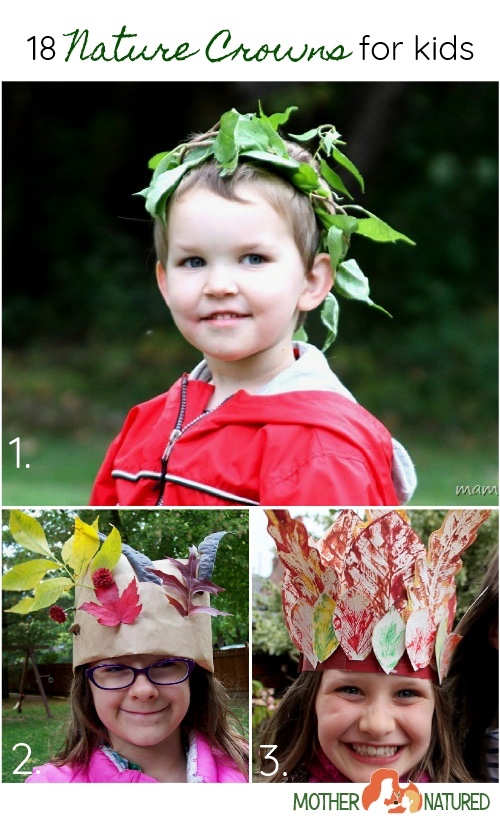 There are so many ways to make nature crowns! All you really need is a strip of paper or cardboard fitted to your child’s head and some glue or tape (a hot glue gun is helpful but not required). Take a nature walk and collect natural items that appeal to your child and then glue or tape them onto the strip of paper/cardboard. Voila!
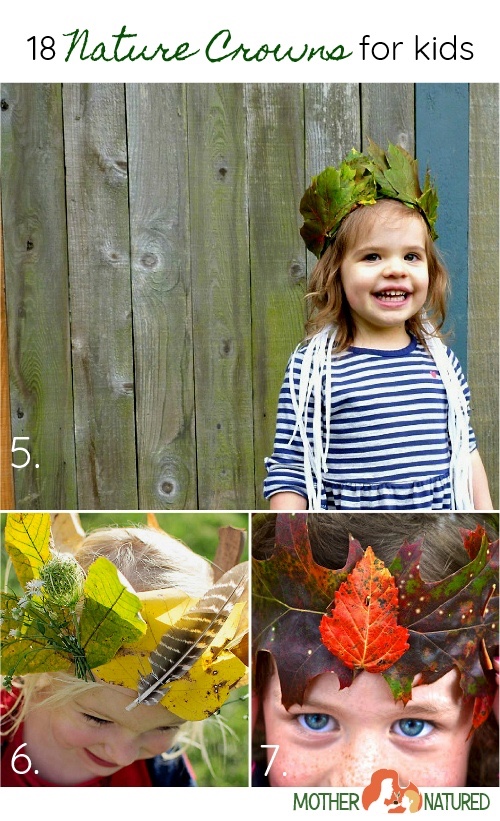


 Play an old favorite game with natural items! The player that is the “hider” chooses a natural item. The “seekers” use their senses to really explore the item before the hider hides it. Discuss its details together: is it large, medium or small? Is it heavy or light? Smooth or rough? It’s important to practice keen observation skills as there may be other natural items that look very similar! Consider marking the item with a sharpie or a string if you think that would be helpful.